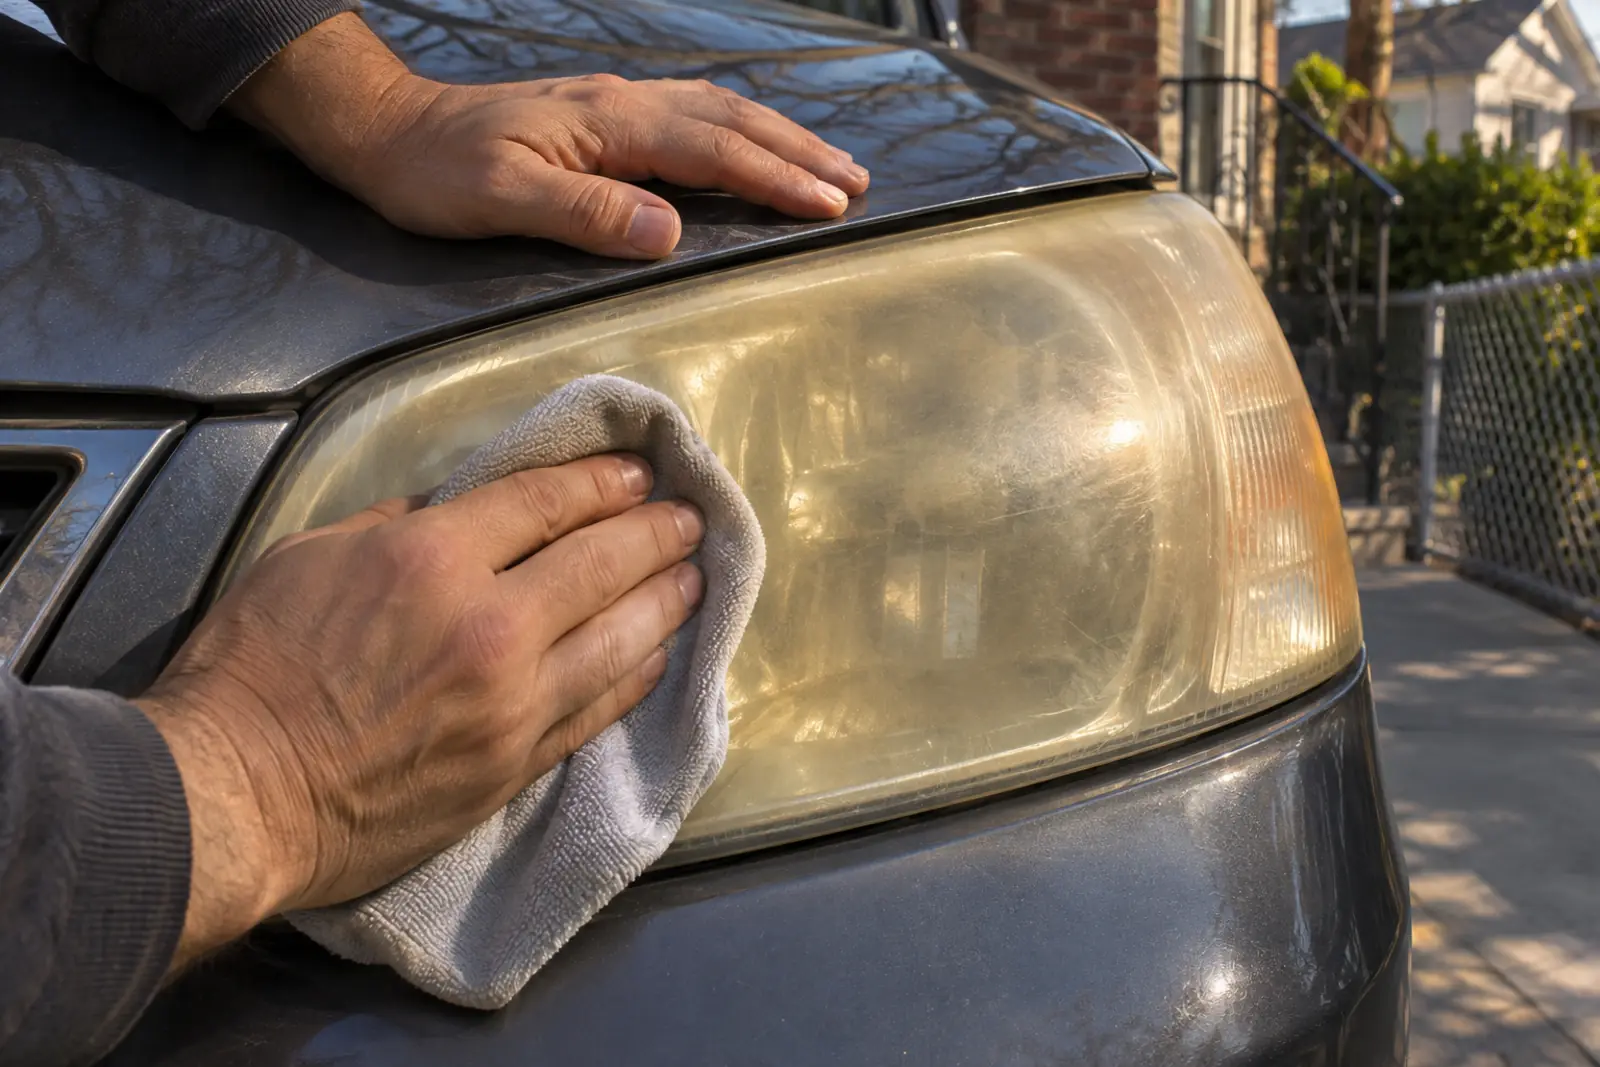
Headlight restoration can improve yellowed, hazy lenses, but it may not return the lamps to their original performance. In AAA’s 2018 study, deteriorated low beams produced only 22 percent of the light of new original-equipment assemblies; restoration recovered about 69 to 73 percent of new output (low and high beam averaged), but failure points remained in low-beam glare regions. AAA estimated about $21 for a DIY kit and about $77 for professional restoration, using 2018 prices rather than current estimates.
So yes, cloudy headlights can be fixed when the damage is only on the outside surface of the lens. Sanding away the worn coating, polishing and sealing the lens usually clears the look and brings back much of the lost light. Fogging, cracks or a discolored reflector inside the lamp are a different problem and call for a new assembly.
Why headlight lenses turn yellow or hazy
Polycarbonate headlight lenses have a factory UV hardcoat that protects the surface. Over time, sunlight, heat and abrasion wear down that protection. The exposed surface can become yellowed, cloudy or rough, changing how light passes through it.
AAA reports that plastic lenses begin to yellow and show other signs of deterioration at about five years of age (plus or minus two), mainly from ultraviolet radiation and abrasion by road grit. The factory film may not last the life of the vehicle, and how long it does last depends on how much UV exposure the car gets.
Restoration addresses deterioration on the outside of the lens. Progressive sanding removes damaged surface material, polishing refines the finish, and a protective coating helps shield the newly exposed surface. A clearer appearance is useful, but appearance alone does not show how much usable light reaches the road or how much glare reaches another driver.
Can you fix cloudy headlights? Check the lamp first
Look at the entire assembly before buying supplies. An exterior haze may be suitable for restoration, but internal damage requires a different decision. Check these areas:
- Outside surface: Look for yellowing, haze and worn coating.
- Inside the housing: Look for moisture that surface sanding cannot reach.
- Lens: Check for cracks rather than assuming every cloudy area is surface oxidation.
- Reflector: Look for discoloration inside the lamp.
Restoration cannot remove moisture inside the housing, repair a cracked lens or restore a discolored reflector. Polishing the outside may make those problems easier to see, but it does not correct them. If damage extends beyond the exterior surface, consider replacement of the assembly.
A dim beam is not always the lens. An aging bulb also loses output, so if the lens is clear and the light still looks weak, the basics of replacing a headlight bulb are worth checking before any sanding.
What the AAA results actually show
The AAA headlamp lens deterioration study tested two sedans about 11 years old in an accredited laboratory using FMVSS 108 criteria. The vehicles were a 2007 Chevrolet Malibu and a 2007 Nissan Altima, both with halogen reflector headlamps. The deteriorated lamps performed poorly compared with new original-equipment assemblies. Both DIY and professional restoration improved output substantially, with professional restoration reaching 73.4 percent of new output and the DIY kit averaging 69.2 percent (low and high beam).
That improvement came with a limitation: both restoration methods left failure points in the FMVSS 108 criteria, largely in low-beam regions associated with glare for oncoming or preceding traffic. The results support restoration as a possible improvement for deteriorated lenses, while showing why a clear lens should not be treated as proof of compliant beam performance. The small study also cannot predict the result for every vehicle or restoration method.
| Option | Cost | Result | Caution |
|---|---|---|---|
| Keep deteriorated lamps | No restoration expense | Only 22 percent of new low-beam output in AAA’s test | Leaving the lenses alone preserves the existing deterioration. |
| DIY restoration | DIY kit estimated at about $21 in 2018 | Output averaged 69.2 percent of new (low and high beam) | Failure points remained in glare regions in the study; surface protection matters. |
| Professional restoration | Estimated at about $77 in 2018 | Output averaged 73.4 percent of new (low and high beam) | Also had failure points in glare regions; results depend on lamp condition. |
| New original-equipment assemblies | Not specified here | Provided the study’s new-lamp comparison | Choose the correct complete assembly and check its aim after installation. |
How much does headlight restoration cost?
In AAA’s 2018 estimates, restoring both headlights cost $21.39 with a DIY kit and about $77.00 with professional restoration. Those are 2018 figures, so current prices will differ and vary by shop, region and vehicle. Replacing a pair costs considerably more.
- DIY kit: $21.39 for both headlights in AAA’s estimate, plus your own time.
- Professional restoration: an estimated $77.00 for both headlights. AAA describes the charge as typically a half to three-quarters of an hour of labor plus supplies.
- Replacement assemblies: for the 2007 Malibu, AAA’s estimates for a pair ranged from about $121 (low-cost aftermarket part, bought online and installed by the owner) to about $427 (original-equipment part bought and installed at a dealership). Labor was 1.0 hour on the Malibu and 1.8 hours on the Altima, where the front bumper cover has to come off.
- Re-aiming: AAA put a shop’s aiming labor at about half an hour, or $48 at its national average labor rate.
AAA suggests weighing personal budget and how long the vehicle will be kept when choosing between restoring and replacing.
Headlight restoration kit vs professional restoration
The two approaches AAA observed differ mainly in how much of the old coating is removed and how the new one is applied.
- Professional systems: every system AAA studied used power sanding to remove all of the original protective film. In AAA’s test the film came off with 320-grit and the lens was then polished with 600, 1200 and 2000-grit discs. A protectant film was applied over the whole lens and cured hard with a UV light. That film was advertised to last five years.
- DIY kits: most kits told the user to remove only the discolored surface of the original film. Some say to remove all the coating, others do not specify, and some include a liquid or spray UV protectant. The kit AAA used did not say how much coating to remove, included a spray-on UV protectant, and claimed to keep the lenses clear for one year with no specific guarantee.
When comparing a restoration kit, look for clear instructions on how much coating to remove, a sanding sequence that moves from coarse to fine, and a UV protectant step. A kit that leaves the lens polished but unsealed leaves the bare plastic exposed to the same UV that caused the damage.
What a typical DIY restoration involves
Follow the restoration materials’ instructions for preparation, sanding sequence, coating and drying. The following sequence explains the general process; it does not replace directions supplied for the materials being used.
- Inspect and prepare. Confirm that the problem is exterior deterioration and prepare the lens and surrounding area as directed.
- Sand progressively. Work through the specified abrasive stages to remove the deteriorated surface and refine the sanding marks.
- Polish. Refine the surface further using the specified polishing process.
- Protect against UV exposure. Finish with the specified UV sealant or protective coating.
- Check the completed lamps. Examine the finish, confirm operation and check headlight aim.
A glossy finish is only part of the job. Sanding changes or removes the remaining factory surface protection, so the protective finishing step matters.
Is headlight restoration polish enough on its own?
In the process AAA described, polish is the middle of a sequence rather than a stand-alone fix: the damaged film is sanded off, finer abrasives refine the scratches, and a protectant goes on afterward. AAA did not test polish-only treatments, so its results say nothing about how well they work or how long they last.
How long does headlight restoration last?
There is no single answer. The professional film in AAA’s test was advertised to last five years and the DIY kit claimed one year, but AAA notes these are manufacturer claims, not measured results, and the kit carried no specific guarantee. Durability is uncertain, especially if the restored surface is left without UV protection. Even a sealed lens needs later checks for renewed haze; the AAA figures do not establish how long a particular restoration will last.
When replacement makes more sense
Consider a replacement assembly when the lens is cracked, moisture is inside, the reflector is discolored or exterior restoration cannot address the deterioration. Replacement also deserves consideration when the goal is performance closer to the new assemblies used as AAA’s comparison. In AAA’s testing, original-equipment replacements gave the best combination of required light and limited glare, and aftermarket assemblies performed nearly as well but were more likely to fail the glare-related compliance checks. Check the condition of both lamps before deciding.
Choose an assembly intended for the vehicle and look for the required DOT symbol on the headlamp lens. DOT is the manufacturer’s certification, rather than an individual approval issued by NHTSA. The guide to FMVSS 108 and headlight markings explains why compliance concerns the complete lighting system, including the lens, reflector and light source. For the same reason, putting a brighter bulb in a hazy or aging housing is not a substitute for restoring or replacing the lens; the guide to LED bulbs in halogen housings covers the glare problem that creates, and the comparison of halogen, HID and LED headlights explains how the lamp types differ.
Check aim and inspection condition afterward
After restoration or assembly replacement, check headlight aim. AAA recommends re-aiming whichever approach is chosen, to get the most forward light and the least glare for other drivers. A clearer lens does not establish that the beam is correctly directed, and adjusting aim does not guarantee that an altered beam meets glare criteria. Use the vehicle’s guidance and the headlight aim adjustment guide to understand the checks involved.
New York requires lamps to be arranged, adjusted and operated to avoid dangerous glare or dazzle, as laid out in the summary of New York VTL 375 on lamps and colors. The DMV safety inspection checks lighting for approved type, operation, mounting and lens condition. The New York lighting inspection guide explains those checks. Restoration alone does not establish that a vehicle will pass.
This guide provides general information, not legal advice. Verify current inspection requirements with the New York DMV and questions about federal replacement-equipment requirements with NHTSA.
Frequently Asked Questions
Can you fix cloudy headlights?
Yes, if the cloudiness is on the outside of the lens. Sanding, polishing and resealing can clear the surface and restore much of the lost light, but restoration cannot fix moisture inside the housing, a cracked lens or a discolored reflector.
How much does headlight restoration cost?
AAA’s 2018 estimates were $21.39 for a DIY kit and about $77.00 for professional restoration of both headlights. Current prices vary by kit, shop and region, so treat those numbers as a 2018 reference point.
What should a headlight restoration kit include?
AAA found that kits differ: some tell the user to remove all of the old coating, others do not say, and only some include a UV protectant. A kit with a coarse-to-fine sanding sequence, clear coating instructions and a UV protectant step covers the stages AAA observed.
Will restoration make old headlights perform like new?
Not necessarily. AAA’s tested restorations averaged roughly 69 to 73 percent of new output, and both left failure points in glare-related low-beam regions.
Can polishing fix moisture inside a headlight?
No. Exterior restoration cannot remove internal moisture or correct the underlying condition allowing it into the assembly.
How long does headlight restoration last?
Durability is uncertain and depends in part on the protective finish. Without UV protection, the newly exposed surface remains vulnerable to deterioration. The five-year and one-year figures AAA quotes are manufacturers’ claims for the products it tested.
Should headlights be aimed after restoration?
Check aim afterward. A clear-looking lens does not confirm correct beam direction, and aim adjustment alone cannot establish acceptable glare performance.
Does a restored lens guarantee a New York inspection pass?
No. Inspection also considers approved type, operation, mounting and lens condition, so polishing the lens addresses only part of the assessment.